Showing posts with label lemon. Show all posts

Friday, 24 August 2012

Lemon Ricotta Cookies


I do love my lemon, and I will not apologize. I like it strong and unabashedly tart, especially in desserts. So I decided to give this recipe by Giada a whirl -- lemon ricotta cookies. Now I've used ricotta cheese in desserts before, but never as part of a cookie batter, so I was anxious to try it out.


These cookies are fairly easy to assemble, just start by zesting and juicing some lemons.

Cream butter and sugar.
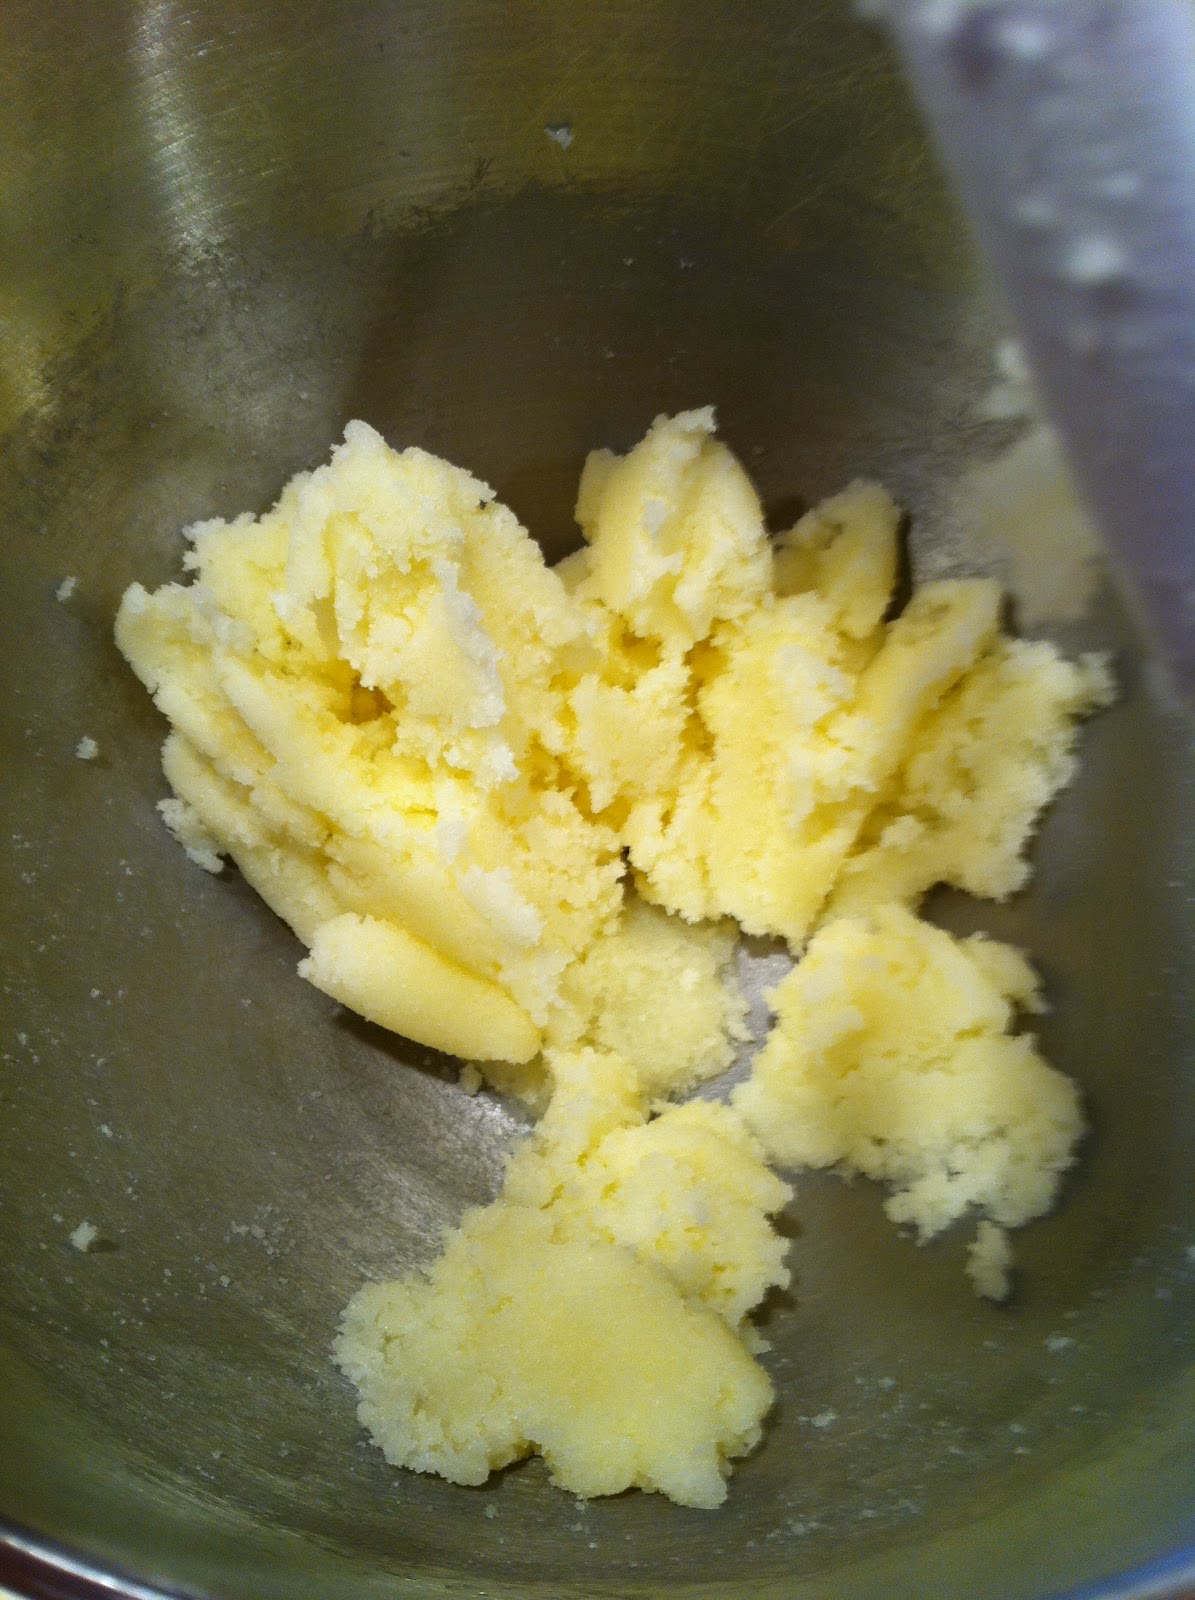
Add the eggs, cheese, lemon juice and zest.


Add in the dry ingredients (premix the dry ingredients together in a separate bowl first).


Drop onto a parchment lined cookie sheet with a #40 scoop (or about 2 tbls per cookie)


Bake about 15 minutes but watch them carefully, it is easy to burn the bottoms. When the edges just start to turn golden, they are done. 

Have your glaze (powdered sugar, lemon juice, lemon zest) ready to go. The cookies need to set on the cookie sheet for 20 minutes before they can be moved to a cooling rack, and this is the perfect time to glaze them, while they are still warm (the heat will help you spread the glaze more easily). Spoon on the zest, and use the back of the spoon to gently spread the glaze. Be careful, the cookies are delicate, you don't want to rip the tops.


The glaze needs about 2 hours to fully set before you can think about packaging them. I was very surprised by the texture of these cookies. They were almost pillow-like, soft and chewy, with a great lemon flavor.


You'll notice on the bottom, there are two ingredients that I put a range for rather than an absolute value. The first is the amount of sugar in the cookie batter. Giada's original recipe called for 2 cups, but I (and some other reviewers) thought this was too sweet) used 1.5 cups of sugar instead. I really wanted the lemon flavor to shine through, so I dialed down the sugar. I loved how mine turned out, but I am really picky about lemon-flavored desserts, the cookies might have more general appeal with 2 cups of sugar in the batter, I don't know.

The second range is the amount of zest in the glaze. I have doubled the glaze recipe, because the amount Giada called for was rather small, and the bulk of the lemon strength comes from the glaze so I didn't want to skimp on it. Keeping the proportions the same as Giada's glaze, this glaze recipe should call for the zest of 2 lemons. I liked the zest at this strength, some found her glaze proportions too lemony, so if you just want a nice hint of lemon, use 1 lemon worth of zest in the glaze instead of 2.

Also, for giggles, I tried these cookies with lime juice and zest instead of lemon, and sprinkled some toasted coconut on top. These were also quite good, and in retrospect, toasted coconut would be a fine addition to the lemon version as well. Just make sure to sprinkle the coconut on before the glaze sets, otherwise it won't stick.


All in all, I was quite pleased with how these lemon cookies turned out. I think they are a great choice for a lemon cookie, especially if you want something that tastes a little fancier. These would be a great cookie to serve with afternoon tea!


Lemon Ricotta Cookies


Ingredients

Cookies:
  • 2 1/2 cups all-purpose flour
  • 1 teaspoon baking powder
  • 1 teaspoon salt
  • 1 stick unsalted butter, softened
  • 1.5-2 cups sugar
  • 2 eggs
  • 1 (15-ounce) container whole milk ricotta cheese
  • 3 tablespoons lemon juice
  • 1 lemon, zested

    Glaze:
    • 3 cups powdered sugar
    • 6 tablespoons lemon juice
    • 1 tbls vegetable oil
    • 1-2 lemons, zested
    • toasted coconut (optional)

    Directions
    1. Preheat the oven to 375 degrees F.
    2. In a medium bowl combine the flour, baking powder, and salt. Set aside.
    3. In the large bowl combine the butter and the sugar. Using an electric mixer beat the butter and sugar until light and fluffy, about 3 minutes. 
    4. Add the eggs, 1 at a time, beating until incorporated. 
    5. Add the ricotta cheese, lemon juice, and lemon zest. Beat to combine. 
    6. Stir in the dry ingredients.
    7. Line 2 baking sheets with parchment paper. Spoon the dough (about 2 tablespoons for each cookie or a #40 scoop) onto the baking sheets. 
    8. Bake for about 15 minutes, until slightly golden at the edges. 
    9. Remove from the oven and let the cookies rest on the baking sheet for 20 minutes.
    10. FOR GLAZE: Combine the powdered sugar, lemon juice, and lemon zest in a small bowl and stir until smooth. Spoon about 1/2-teaspoon onto each cookie and use the back of the spoon to gently spread. Sprinkle on toasted coconut if using.
    11. Let the glaze harden for about 2 hours. Pack the cookies into a decorative container.

    Thursday, 24 March 2011

    Lemon Blossoms (Easy Things to Do With Cake Mix #3)


    And, with this post, I am finally done with the three boxes of yellow cake mix that I had left over from Christmas. The first two were used to make Pecan Cake Bars and Raspberry Oat Bars, respectively. Both recipes are delicious and quick ways to use cake mix, with the raspberry oat bars being a real stand-out in terms of flavor and ease of assembly. For this last box of mix, I decided to stick to the fruity route, and I chose a recipe called Lemon Blossoms from Paula Deen, which are tiny little lemon cakelets baked in a mini-muffin pan and covered in a lemon glaze. I had it in mind to test as a potential Easter recipe (for some reason, Easter and lemons are always associated in my mind), plus it sounded like a great, bright, spring-time recipe now that Spring is officially here.


    Although, you'd never know Spring is here from all the snow I've been cleaning off of my car every morning, but that's another story.

    This recipe starts with an ordinary box of yellow cake.

    Normally, when I make a lemon cake from a mix, I buy the lemon-flavored mix, and dump in a box of lemon Jell-o to make the color bright and the flavor pop. It is an easy thing to do, and I recommend it for anyone who wants a quick lemon cake. This recipe, however, calls for a box of yellow cake mix, and a box of instant lemon pudding, so I was very interested to see how the flavor of this cake compared to my standard from-the-box lemon cake (Spoiler Alert: this recipe is divine).

    Combine cake mix, pudding, lemon zest, eggs, and vegetable oil in the mixer until well-combined. The batter will be very thick, resist the urge to add extra liquid, these cakes are supposed to be dense, like a tea cake.

    Fill a sprayed mini-muffin tin (no liners) with batter, filling the wells half full of batter. The blossoms rise a lot, and if they spill over the top of the well, getting them out of the pan might be harder, so make sure you only fill up half way.

    Now, they bake in a pre-heated oven. The tops will spring back when they are done, mine took about 15 minutes, although the directions say 12.


    When they come out, before they cool, invert the pan and turn them out onto a towel. Paper towels are fine.

    You can right them if you want.

    At this stage I was a little worried. Mine looked browner than Paula's -- baking them until the sprang back seemed to turn them into what felt like little hockey pucks...or so I thought.

    Now it is time to dip them in the glaze. Paula calls for you to dip them as soon as you turn them out onto the towel. I didn't do this, because I didn't have my glaze made yet. I don't think the blossoms ended up any worse for wear, but that is your decision. So, prep your glaze (you can even do this before you assemble the dough, just be sure to cover the glaze, and stir it again before you dip): lemon juice, lemon zest, a little veggie oil (I didn't put as much in as she called for), and a little water.

    There are two ways to dip: you can either dip the entire blossom, or just the top. It definitely affects the flavor, and both are yummy. The texture is a little softer if you dip the whole thing, but the lemon flavor is much stronger, so I recommend trying it both ways to see what you like better. If you intend to dip the entire blossom for most or all of them, I'd double the glaze, because I started running a little low.


    Dip them, Put them on a rack on top of wax paper, so that the excess glaze can run off, and let them set for about an hour before you try to pack them for storing.

    They look a little like glazed doughnut holes, and the taste is wonderful. The cake is dense, but the flavor is light and bright. The amount of cake you choose to dip will really affect the level of lemon. I loved them both ways, they are the perfect accompaniment to tea, and just a great addition to a dessert spread in general.

    There's no reason why you can't substitute lime juice and zest, or orange juice and zest to change the flavor. You can use vanilla pudding in the mix, or you can use lime or orange Jell-o, respectively. There's also no reason why you can't substitute a chocolate cake mix and chocolate pudding, and make the glaze out of vanilla and water instead (or substitute a chocolate glaze).


    Lemon Blossoms
    (Printable Recipe)

    Ingredients
    Cake

    • 1 box of yellow cake mix (18.5)
    • 1 package lemon instant pudding (3.5 oz)
    • Zest of 1 lemon
    • 4 eggs
    • 3/4 C vegetable oil

    Glaze *

    • 4 C confectioner's sugar
    • 1/3 C lemon juice
    • Zest of 1 lemon
    • 2 tbls vegetable oil
    • 2 tbls water

    Directions

    1. Combine cake mix, pudding, zest, eggs and oil in mixer, and mix until combined, about 2 minutes
    2. Spray a mini-muffin tin with butter spray, and fill the wells half full with batter. This recipe makes 48 mini-muffins, and uses 2 pans
    3. Bake in a pre-heated 350F oven for 12-15 minutes
    4. Turn out immediately on a tea towel
    5. In the meantime, make the glaze, combining all glaze ingredients together
    6. Dip the blossoms, either by covering completely, or by dipping the tops (*double the glaze recipe if you want to completely cover all blossoms)
    7. Let glaze harden for an hour before putting away
    8. Can store at room temperature

    Monday, 21 February 2011

    Raspberry Oat Bars (Easy Things to do with Cake Mix #2)

    As I mentioned in my previous post, I am currently baking my way through some of the excess baking supplies I purchased during the holidays, most notably several boxes of yellow cake mix. If the pecan cake bars of my previous post were easy, this next recipe is still easier, and quite tasty. It has a great fruit flavor, which makes it a perfect bar to make now that the weather is (supposed to be) getting warmer. It flurried by my house this morning, and I heard on the radio that there was 6" of snow on the ground in Bergen County. So maybe these bars can make you feel like Spring is coming (so long as you don't look out the window or go outside).


    I originally modified this recipe from a posting I saw here, although I altered a decent amount of ingredients

    You start with a box of yellow cake mix. Just plain old yellow, not the Butter Recipe yellow, which has artificial butter flavoring added to it. Trust me, we are putting almost 2 sticks of butter into the recipe, we don't need any artificial butter flavor on top of that.

    Take that dry cake mix and add some quick cooking oats (1 minute oats, do not use slow cooking oats). Mix them around to combine them a bit.

    Then, add melted butter, vanilla, and a little lemon zest.

    Take half the crumbs, and pat them down into a sprayed 9"x13" pan. Pat it down firmly.

    Next, take some seedless raspberry jam, and combine it with about 1 tbls of fresh lemon juice, stirring until smooth. Then, spread the jam on top of the base. I used a 12oz jar of jam, but you can buy a bigger jar if you want a thicker fruit layer.
    Don't mind the crumbs, I started sprinkling before I remembered to take the pic of the jam layer...

    Once the jam is down, take the remaining crumbs and sprinkle them on top. Once you are done sprinkling, you can pat the crumbs down semi-gently.

    This gets baked for a little over 20 minutes.

    When it comes out of the oven, let them cool completely, and then you can cut and serve!

    Easy!! And tasty!! My favorite kind of recipe!

    This recipe is actually very versatile, because you can vary the kind of cake mix, and kind of jam. How about chocolate cake with raspberry jam? Or lemon cake? White cake with cherry or blackberry jam? There are plenty of specialty jams out there at stores such as Wegman's or Harry & David's, and I'm sure most of them would pair wonderfully with a basic cake mix. Or, you can try lemon or lime curds, pumpkin or apple butters, or a combination of jam and curd -- maybe some nice lemon curd and blackberry jam?

    And, this bar doesn't have to be refrigerated, which makes it a great take-along item for a party or picnic!

    Raspberry Oat Bars
    (Printable Recipe)

    Ingredients

    • 1-18.5oz box yellow cake mix
    • 1 3/4 sticks butter (14 tbls), melted
    • 2 1/2 C quick-cooking oats
    • 2 tsp vanilla
    • zest of 1 lemon
    • 1-12oz jar of seedless raspberry jam
    • 1 tbls fresh lemon juice


    Directions

    1. Preheat oven to 375F
    2. Combine dry mix and oatmeal in a bowl
    3. Add melted butter, vanilla and zest to oatmeal/cake mixture, and mix thoroughly
    4. Pat 1/2 of crumbs down in a 9"x13" pan, patting firmly
    5. Combine jam and lemon juice until smooth
    6. Spread jam on top of crumb layer evenly
    7. Sprinkle second 1/2 of crumbs on top of jam layer, patting down gently when finished
    8. Bake at 375F for 18-23 minutes, until golden brown.
    9. Take out and let cool
    10. Slice once cool. Can be stored, covered, at room temperature

    Raspberry Jam

    Tuesday, 25 May 2010

    Berry Buttermilk Cake


    A slice of Strawberry Buttermilk cake!  


    It's quick, it's easy, it uses up extra berries -- the Berry Buttermilk Cake! This is a great, light, fruit-based recipe for summer! I found it originally on Epicurious, paired with raspberries. You could use any type of berry however, and I made one version with sliced strawberries, and one with raspberries. Any berry would work here, including blackberries, blueberries, and (pitted) cherries.


    Quick note about ingredients: you don't have to go out and buy buttermilk just for this recipe (or any recipe for that matter). I sure didn't. In order to make buttermilk, you just add 1 tbls of lemon juice or white vinegar to 1 C of milk, and let it clabber for about 10 minutes, until it thickens. Conveniently enough, this recipe already calls for lemon zest, so you can zest a lemon, squeeze it, and then add 1/2 tbls of the juice to 1/2 C milk to get the 1/2 C of buttermilk the recipe calls for. I even used 2% milk because it was all I had in the fridge, and it worked great!

    Raspberry cake before baking

    The ingredients list looks long, but it really isn't. This cake comes together fast, and bakes even faster. And then you get this:

    Yum!


    Strawberry...

    or Raspberry~
    Ingredients
    • 1 C AP flour
    • 1/2 stick unsalted butter, softened
    • 2/3 C sugar
    • 1 egg
    • 1/2 tsp baking powder
    • 1/2 tsp baking soda
    • pinch of salt
    • 1 tsp vanilla extract (if you are making a cherry cake, almond extract might work better)
    • 1/2 tsp lemon zest 
    • 1/4 tsp cinnamon (optional, best with blueberries or strawberries)
    • 1/2 C buttermilk (see above)
    • 1 C berries
    • additional sugar for sprinkling
    Directions
    1. Zest your lemon. Squeeze the juice if you are making you own buttermilk, and clabber the milk (above)
    2. Preheat oven to 400F
    3. Butter and flour a 9" round pan
    4. Combine dry ingredients (flour, baking powder and soda, salt, and cinnamon) in a bowl and set aside
    5. Cream butter and sugar until light and fluffy, then add in vanilla and zest, then the egg
    6. Add flour in 3 batches, alternating with buttermilk (starting and ending with flour). Mix until just combined each time
    7. Pour batter into cake pan, smoothing out top if necessary
    8. Scatter berries over top (I ended up using a little less than a cup of strawberries, but about a cup of raspberries),and sprinkle with sugar (about 1 1/2-2 tsp)
    9. Bake for 20-25 minutes, until cake is golden and toothpick inserted comes out clean
    10. Cool in pan 10 minutes, then depan and cool completely. Invert onto a plate.
    11. Pair with whipped cream or Cool Whip and enjoy!
    This cake is delicious. Moist, light, only slightly sweet, and pairs wonderfully with whipped cream or Cool Whip. In fact, both berry versions of this cake tasted even better the next day, when the flavors had a chance to meld a bit more. I could definitely taste the lemon zest more in the raspberry cake, presumably because I made that cake without cinnamon, and it was a wonderful pairing. I can't wait to try it with blueberries. This recipe is definitely a great go-to cake, light and refreshing. I got raves when I brought it into the office (both times). It disappeared before 9am.

    Raspberry with a hint of lemon! Delicious!

    I have a mind to double this recipe and make one cake with strawberries, and one with bananas, and then assemble the whole thing with whipped cream as a layer cake.

    Friday, 6 March 2009

    Mini Lemon Meringue Pies (the so-called Pie-lets)

    This is a bit of a tardy post, I actually made these mini lemon meringue pies as a Christmas present for my godfather (lemon meringue is his favorite, but my godmother doesn't make it anymore).

    This is a time-saving recipe, not completely from scratch, but you can't tell by taste. And the best part is, you can adapt this for other pies. But more about that later...

    Equipment:

    -- ~12 mini pie crusts. I found mine pre-made at my local orchard's store, your local supoermarket might have them as well. If not, there are 2 options: 1) get some refrigerated pie crust and mini aluminum plates and make your own by cutting the refrigerated dough in about 4-inch circles; or 2) use the mini Keebler graham cracker shells.Using the graham cracker shells with cooked pudding is supposedly a no-no because the crumbs get soggy, but honestly it'll still taste great.
    -- a box of cooked lemon pudding (not instant) plus the specified ingredients on the box (sorry, I don't remember off the top of my head). Royal is a good brand. OR, if you have time, a good recipe for from-scratch cooked lemon pudding plus necessary ingredients (Alton has a great one here). Honestly, though, from-the-box pudding is very tasty, I'm not sure it is worth the effort to make it from scratch...
    -- 4 egg whites
    -- 2 tbls sugar
    -- cream of tartar

    Instructions:

    1. The first step is to blind-bake the crusts (if you have dough crusts). If you want to put graham cracker crusts in the oven, that is up to you. It will make them taste good, but be sure to watch them carefully.
    • Prick the bottom and sides of the dough with a fork.
    • Normally you would cover it with aluminum or a second pie plate and weight it with dry beans or ceramic pie weights, but I didn't bother with weighing them down because the crusts were so small.
    • Bake at 425F until golden in color. This will depend on the size of your crusts, so keep watch. My little guys took about 6 minutes.
    • Cool completely before filling.
    2. Cook the pudding according to the box or recipe instructions.

    3. When the pudding is done, take it off the heat and put it on a trivet while you whip the eggs. This won't take more than a few minutes, so don't worry about a film forming over the pudding

    4. Combine the egg whites, sugar and a pinch of cream-of-tartar, and whip in a stand mixer with a whisk attachment until stiff peaks form, probably less than 2 minutes.

    5. At this point, put pudding into each crust, but leave a little room at the top, because the meringue will displace some pudding.

    6. Cover the pudding with meringue, making sure that the meringue contacts the crust all the way around, and that there is a good seal. Meringue shrinks when baking, so this is very important so that your meringue doesn't shrink smaller than the circumference of your pies! I normally use a butter knife to get the characteristic meringue peaks -- just touch the flat side of the knife to the meringue and pull straight away.

    7. Put the pies in the oven at 375F, and watch for the meringue to turn golden (keep an eye on the peaks so they don't burn).

    I adapted this technique from a regular lemon meringue pie, so it goes without saying that you can do everything in a single 9-inch crust, and have a normal sized pie.

    I haven't done it yet, but this little pie-let technique would work well for any single-crust pie (you could do a double crust pie too, but it would not be quite as easy because you would have to cut and fit a top crust). Pumpkin, pecan, and dutch apple pies leap to mind as potential future pie-lets. Oh, and of course the cream pies: chocolate, coconut, banana, etc.

    Monday, 2 February 2009

    Tuiles with Lemon Pudding and Blueberries

    This month's challenge is brought to us by Karen of Bake My Day and Zorra of 1x umruehren bitte aka Kochtopf. They have chosen Tuiles from The Chocolate Book by Angélique Schmeink and Nougatine and Chocolate Tuiles from Michel Roux.

    My very first Daring Baker’s Blogroll (http://www.thedaringbakers.com/) monthly challenge! Although I was excited about this challenge, January was a very busy month for me as I had several grants to write. Predictably, I wasn’t able to give this challenge my full attention, and left it until the very last minute, with the result that my tuiles weren’t quite what I had hoped for. I originally had dreams of being super fancy, maybe pairing my tuiles with a homemade mango mousse, but it was not to be. In the end, I have to say that I was only moderately pleased with the result, since I cut a lot of corners (literally as well as figuratively!). However, the recipe worked well enough that I can envision making tuiles again, and being infinitely more pleased with the results.

    For those who do not know (neither did I until this challenge), tuiles are a lightweight, dry, crispy French cookie. The name actually means “tile” in French, because its traditional shape has the slight curve reminiscent of old-fashioned roof tiles. To my eyes, traditional tuiles look kind of like Pringles potato chips, although I’m sure pastry chefs everywhere would cringe at the comparison. They can actually be made into a variety of shapes, almost anything you want. The catch, however, is that the cookies can only be molded into shapes while they are still warm which, given their thinness, isn’t a whole lot of time.

    There are a few different ways to make tuiles, but because they need to be so thin, spreading them over a stencil seemed the easiest to me. There are a number of sites that carry commercially available pre-cut tuiles molds (for example http://www.bakedeco.com/dept.asp?id=170). After some careful consideration (and a lack of time and budget) I decided to make my own round stencil, and make cup-shaped tuiles that could be filled. To that end, I bought a silicone mat, and traced a large circular cookie cutter to make 6 holes. I also grabbed a few little tartlet pans (which were only $ 0.59 each at BB&B) to use as molds.
    We were given a choice of 3 recipes on the Daring Baker’s site, and I chose the basic sweet tuiles recipe taken from a book called “The Chocolate Book”, written by female Dutch Master chef Angélique Schmeinck. I, as it so happens, am NOT a master chef by any stretch of the imagination, and making this recipe underscores the tremendous amount of talent such baker-artists have.

    Recipe:Yields: 20 small butterflies/6 large (butterflies are just an example)

    Preparation time batter 10 minutes, waiting time 30 minutes, baking time: 5-10 minutes per batch

    65 grams / ¼ cup / 2.3 ounces softened butter (not melted but soft)
    60 grams / ½ cup / 2.1 ounces sifted confectioner’s sugar
    1 sachet vanilla sugar (7 grams or substitute with a dash of vanilla extract)
    2 large egg whites (slightly whisked with a fork)
    65 grams / 1/2 cup / 2.3 ounces sifted all purpose flour
    1 table spoon cocoa powder/or food coloring of choice
    Butter/spray to grease baking sheet

    Directions:

    Preheat oven: 180C / 350

    Using a hand whisk or a stand mixer fitted with the paddle (low speed) and cream butter, sugar and vanilla to a paste. Keep stirring while you gradually add the egg whites. Continue to add the flour in small batches and stir to achieve a homogeneous and smooth batter/paste. Be careful to not over mix.

    Cover the bowl with plastic wrap and chill in the fridge for at least 30 minutes to firm up. (This batter will keep in the fridge for up to a week, take it out 30 minutes before you plan to use it).


    Line a baking sheet with parchment paper or grease with either butter/spray and chill in the fridge for at least 15 minutes. This will help spread the batter more easily if using a stencil/cardboard template such as the butterfly. Press the stencil on the bakingsheet and use an off sided spatula to spread batter. Leave some room in between your shapes. If so desired, mix a small part of the batter with cocoa or food coloring and a few drops of warm water until evenly colored. Use this colored batter in a paper piping bag and proceed to pipe decorations on the tuiles.


    Bake in a preheated oven (180C/350F) for about 5-10 minutes or until the edges turn golden brown. Immediately release from baking sheet and proceed to shape/bend the cookies in the desired shape. These cookies have to be shaped when still warm, you might want to bake a small amount at a time or maybe put them in the oven to warm them up again. (Haven’t tried that). Or: place a baking sheet toward the front of the warm oven, leaving the door half open. The warmth will keep the cookies malleable.

    If you don’t want to do stencil shapes, you might want to transfer the batter into a piping bag fitted with a small plain tip. Pipe the desired shapes and bake. Shape immediately after baking using for instance a rolling pin, a broom handle, cups, cones….

    The batter came together quite easily, and spread easily. My stencil worked like a charm, and my cookies held their shape wonderfully. I kept a careful watch on them in the oven, I think I ended up baking them about 7 minutes or so. But when they came out, that’s when the problems started. The cookies set up faster than I thought they would, mostly I think because I overcooked them a tad, so the edges set up almost the instant they were pulled out of the oven. The tartlet-pans-as-molds didn’t work quite the way I had envisioned, no doubt because the cookies were already partially set, so I ended up with tuiles that were only vaguely curved as opposed to the tart-shaped tuiles I had pictured in my head. And the second half of my batch set up before I even got the chance to mold them. But, the cookies tasted good – light and crisp. Several recipes online have additives: orange zest/juice; lemon zest/juice; almond extract; ground almonds, etc. I think that, if I repeat this recipe, I’d like to add a citrus flavor, either lemon, lime or orange.


    The instructions for this month’s challenge said to pair the tuiles with something “light and fruity.” I bandied around several (labor intensive) ideas before I finally settled on lemon pudding with blueberry garnish, because I am a sucker for a lemon-blueberry combination. Then I downgraded it to lemon curd instead of pudding, because I realized I wouldn’t even have time to make a cooked pudding. Then I downgraded it again to lite lemon yogurt because…well…I already had it, and I didn’t have time to go to the store. My baking is all about the juxtaposition between my job needs and everything else. Sometimes there just aren’t enough hours in the day, and I have to choose my battles. But the way I figure it, not only were my tuiles light, but lite. I definitely think lemon pudding (or even curd) and some whipped cream would be great, but they were still tasty with the yogurt, and the blueberries added a nice contrast.


    On a scale of 1-10, I rate this challenge as a 6, mostly because of my own doing. There is definite room for me to improve, although with so many other interesting things to bake, I’m not sure I am motivated to do so. Even if the tuiles had come out looking perfect, I am not entirely sure that they would be worth the effort, even though I am leaning towards trying again at some point. I have to admit, I would like to take some time to master their cousin, the fortune cookie. I actually attempted a fortune cookie fold with one of the tuiles, having watched the technique on tv, but mine basically just looked like someone had taken a round cookie and folded it into quarters.