Well.
That was that, as they say. I've never had any desire to make fruit thumbprints before (I inevitably lean towards cookies filled with chocolate etc), but I immediately requested the recipe from my cousin, so I could take a look at it. A little searching turned up the fact that this recipe originally came from the book Williams-Sonoma Collection: Cookies, under the moniker of "Ruby Jewels."
The recipe itself is very simple to put together, with one brief spell in the refrigerator. The cookie dough is close to a basic shortbread dough, meaning that it has a 1:2:3 ratio of sugar to butter to flour and no leavening agent. Incidentally shortbread gets its name from one of the original meanings of the word "short" -- crumbly. To "shorten" literally used to mean to make something crumbly, which is why we now call any fat that can be used to make a crumbly texture "shortening." Shortcake (as in strawberry, etc) is almost exactly like shortbread, except with a leavening agent, and potentially with vegetable shortening replacing some or all of the butter.
A brief word about jam choices. My cousin made these cookies with Smucker's Seedless Red Raspberry jam. I used the same, but I also wanted to try some different flavors. I really had my heart set on strawberry rhubarb, because I love strawberry rhubarb pie in the summer, but the rhubarb season is so darn short. When I tasted my cousin's cookies for the first time, I thought how perfect it would be to capture that flavor in a cookie that could be enjoyed all year round. There are several recipes out there for homemade strawberry rhubarb jam, but I admit, I was intimidated. Luckily, I found what I was looking for in the mall of all places, at Harry and David's. They carry a strawberry rhubarb conserve which is available all year. It has chunks of fruit in it, but they can be reduced with a few seconds in the food processor if you want (or you can do what I did and just scoop the jam out from between the fruit bits). If you have a store in your local mall, check them out. Besides the strawberry rhubarb, there were a few other jam varieties in there that I had my eye on for future cookie-making, including: bing cherry, marionberry, blackberry, and blueberry. There are also some lovely apple and pumpkin butters that might be good for the autumn, I'll be looking into those in a few months.
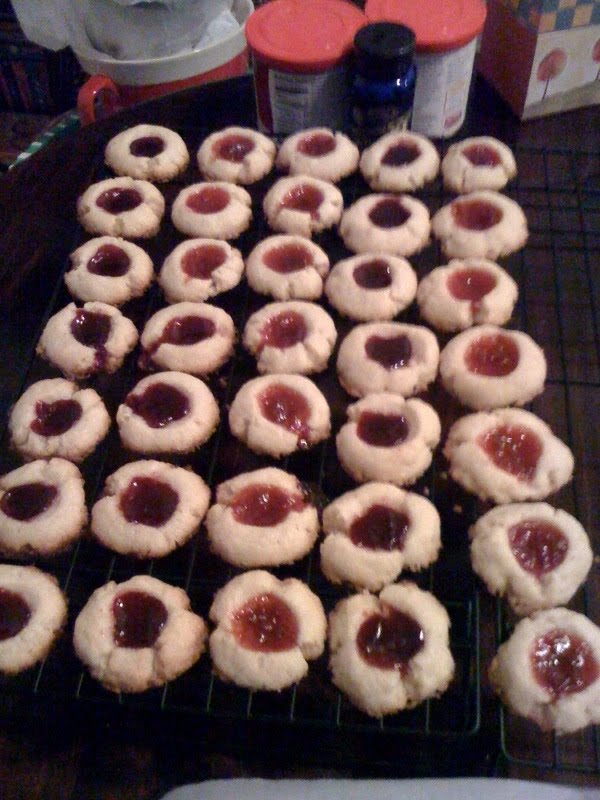
I only took one picture, of the finished cookie, but believe me, they are easy. I used a spoon instead of my thumb to make the indentations because I found that this way produces a well with higher walls, and I lose less filling during baking.
The dark filling is raspberry, the lighter one is strawberry rhubarb.
Ingredients
1 C cold sweet butter, cut into pieces
2/3 C granulated sugar
2 1/4 C AP flour
2 egg yolks
1 tsp vanilla
fruit jam
Directions
* This recipe can be made entirely in a food processor, or with a stand mixer and paddle. I used the mixer because I didn't feel like cleaning my food processor. They came out great, so don't worry if you don't have a processor.*
- Preheat oven to 350°F
- In a small bowl, whisk the egg yolks and vanilla together, set aside.
- Combine the flour and granulated sugar in a mixer with the paddle attachment or in a food processor/mixer and process just to blend. For Mixer: Sprinkle the butter onto the flour/sugar mixture and mix on medium until the mixture looks crumbly, this won't take long. Add in the egg mixture and mix until the dough pulls away from the side of the bowl. For Processor: With the machine running, add the butter 2-3 pieces at a time and process until the mixture looks crumbly. With the machine still running, add the egg yolk mixture and process until blended and the dough begins to pull away from the sides of the bowl.
- Refrigerate until chilled, about 30 minutes. I leave it in the bowl and cover the top with saran wrap.
- Line cookie sheets with parchment paper.
- Using a #60 scoop, scoop out dough and roll it into a ball with your hands. Place dough balls on the sheet.
- Flour the back of a 1/2 tsp measuring spoon (you will have to keep reapplying the flour), and push the back of the spoon into the cookie until the dough is pushed up even with the rim of the spoon. Be careful not to push all the way through. The cookies will crack a little bit, which isn't tragic as long as the walls of the imprint are intact -- otherwise the filling will run out while baking. If they crack too much, repair as best you can, or re-roll the cookie and try again.
- Using a spoon or a pastry bag fitted with a plain tip, fill each indentation with about ¼ teaspoon jam.
- Bake the cookies until the edges are golden, 15-20 minutes.
- Let the cookies cool completely before transferring the cooled cookies to wire racks.
I had the fleeting thought that a dab of peanut butter underneath the jam would be perfection. My husband insists that this is over the top, but I think I will try it anyway...
No comments:
Post a Comment