Showing posts with label chocolate. Show all posts

Wednesday, 27 March 2013

Coconut Macaroons


I'm always on the lookout for a good coconut macaroon recipe, and this is definitely a great one. It is Alton Brown's Paradise Macaroon recipe (with minor modification), which was his contribution to Food Network's 12 Days of Christmas Cookies circa 2008.

Now, these are coconut macaroons, which are the most common kind of macaroon in the US, although I am sure everyone is also familiar with the French cookies of the same name as well. Why two such variant desserts under the same name? Well, it turns out that "macaroon" is a rather loose term: it can be used to describe a light, small cookie or cake(ish) baked good, commonly with egg whites, some kind of nut and/or almond paste, sometimes coconut, and sugar. The coconut macaroons are most common in the US, while French macaroons, also called macarons, are meringue cookies filled with some type of ganache or buttercream. People tend to use the term macaroon interchangeably for either the coconut or cookie macaroons, and while some people try to exclusively use macaron when talking about French-style macaroons, there isn't a universal convention for distinguishing between the two

These cookies are fairly easy to put together, although there is an egg-whipping step in the middle. Trust me, it is well worth the extra work.

First, combine the coconut, condensed milk, salt and vanilla, mixing well to coat.


Then, in a separate bowl, whip the eggs until foamy, the slowly incorporate the sugar, whipping until medium (aka firm) peaks form (the peak has a gentle curl to it when you lift the beaters out, check this out for a visual reference).  Fold the egg whites into the coconut mixture:


Using a tablespoon or a #40 scoop, scoop out the coconut mixture onto parchment-lined cookie sheets...


And bake for 20-25 minutes at 325 until golden brown.


Take them off the pan and put them on  wire rack to cool immediately, and let them cool down completely. Then, you can melt the chocolate and shortening together (I melted the chips in the microwave in 15-30 second increments,stirring after each time, with the oil), and dip the top of each completely cooled macaroon into the chocolate.

Before the chocolate sets, sprinkle on some chopped macadamia nuts, and DONE!


I used bittersweet chocolate, which I prefer to semi-sweet, and it was lovely. But semi-sweet is just fine, and if you want more of a sweet Almond Joy taste, you can even use milk chocolate. And almonds, for that matter. But I love macadamia nuts with coconut, so tropical!

These cookies are rich and decadent, and the chocolate/macadamia nut combo on the top adds just the right amount of contrast and salt. The extra whipped egg whites gives them a slightly lighter consistency than the usual wet, dense macaroon, but doesn't sacrifice any of the richness and flavor. You won't be disappointed in these!

Coconut Macaroons

Ingredients
  • 15-16 oz sweetened shredded coconut (depending on the size package(s) you find)
  • 2 oz sweetened condensed milk
  • Pinch kosher salt
  • 1 tsp vanilla 
  • 4 large egg whites
  • 5 oz sugar
  • 12 oz semisweet or bittersweet chocolate chips
  • 1 oz vegetable shortening
  • 2 oz finely chopped dry-roasted macadamia nuts
Directions

  1. Preheat oven to 325F
  2. Combine coconut, condensed milk, salt and vanilla in bowl, mixing well to combine
  3. Whip egg whites until foamy
  4. Add sugar slowly to egg whites, continuing to whip until medium (firm) peaks form, about 6 minutes
  5. Fold egg whites into coconut mixture
  6. Scoop coconut mixture onto parchment-lined cookie sheet using a #40 scoop or rounded tablespoons
  7. Bake 20-25 minutes, until golden brown
  8. Remove cookies/parchment immediately to wire rack and allow to cool completely before topping
  9. Melt chocolate (microwave is fine) and oil until smooth
  10. Dip the top of each macaroon into the chocolate, and sprinkle macadamia nuts over the chocolate before it sets
  11. Let chocolate set before storing and/or eating


Wednesday, 13 March 2013

Old-Fashioned Chocolate Pie (aka Minny's Chocolate Pie)


I read. A lot. So much that my house is currently overflowing with books, most of which live in cardboard boxes stacked to the ceiling. And that doesn't even count the books I left at my parents' house when I moved (much to their chagrin), which would easily double, if not triple, my collection. But I can't help it -- I love reading. But it got to the point where my husband put his figurative foot down and said that we couldn't possibly fit any more books in our house without the whole structure collapsing in on itself, creating some sort of biblio-singularity which would punch a hole in the space-time continuum and destroy the entire universe. Maybe not his exact words, but that was the general gist. However, being my husband, he came up with an elegant alternative: a brand new iPad with Kindle and Nook apps on them, and a gift card to Amazon. That was about a year and a half ago, and I have since become an e-book convert (although it took me a few days to get used to reading on a screen). I have 60+ books on my iPad already, because buying them when I have a whim to read or see something interesting is way too easy.
But why do I bring this up on a baking blog? Well, it just so happens that the very first e-book I downloaded was The Help by Kathryn Stockett. And in this book is a pivotal plot point which I won't spoil here, but it involves a chocolate pie. Minny's chocolate pie to be exact.

When the movie came out, I had my first good look at the movie-interpretation of said pie, and I was surprised to discover that it was not a chocolate cream pie like I had been imagining. It was some sort of baked confection, looking almost like a brownie pie, and I was intrigued. A year and a half later, on a whim, I google "Minny's chocolate pie recipe" and out pops this page -- the screen-used recipe for Minny's pie! Not only did it sound delicious, it sounded almost too easy, so I had to give it a whirl. And thank goodness I did!

I have made this pie several times already, because it is that fast. I did adjust the sugar somewhat, and the amount of evaporated milk. I also added peanut butter one of the times I made it.

The ingredients are sugar, eggs, evaporated milk, cocoa powder, melted butter, vanilla, and a crust. You can use prepared crust, frozen crust, from scratch crust, even a prepared graham cracker or cookie crumb crust (although the last two get a mite overdone, but they don't burn).

The order you add things in the bowl will make a difference, only because the cocoa powder can seize or separate out of the custard if it isn't incorporated well. Here is what I do:

Combine the sugar, salt and melted butter in a bowl, whisking well to combine. Add in the cocoa powder, whisking well. Add in the two beaten eggs, whisking well. Add the evaporated milk and vanilla, whisking well.

At this point it gets dumped into your crust. If you want, you can put a 1/2" layer of peanut butter down on the crust first like so:

 Just sayin'.

Then, it bakes up for 45 minutes.

This one was in a chocolate wafer crust
It needs to cool completely before cutting and eating, I suggest at least 6 hours or overnight, refrigerated. Then comes the fun part: cutting and eating!


This pie tastes so decadent, with or without the peanut butter. No one will believe how incredibly easy it is to put together! It has a wonderful consistency, more substantial than a custard, less firm than a brownie. It also goes great with whipped cream, and honestly would probably make a great bottom portion of a chocolate cream pie. All in all, two thumbs up! This has already become a go-to recipe for those times when I need an easy dessert, especially as a take-along!

Note: The original recipe calls for 6 oz of evaporated milk. However, evaporated milk comes in either 5 oz or 12 oz cans. I don't know about you, but I'm not opening a 12 oz can just for 6 oz. So I tested the recipe using just 5 oz and it works fine. BUT, you can also use 12 oz, double the rest of the ingredients, and just make 2 pies. It is just as easy to make 2 pies as it is to make one, so I normally do that! Trust me, they don't go to waste!

Old Fashioned Chocolate Pie

Ingredients

  • 1 pie crust
  • 1 C sugar
  • 3 tbls unsweetened cocoa powder
  • 4 tbls butter, unsalted, melted
  • 1/4 tsp salt
  • 1 tsp vanilla
  • 2 eggs, beaten
  • 5 oz evaporated milk*

*use a 12 oz can and double the remaining ingredients to make 2 pies

Directions

  1. Preheat oven to 350F
  2. Put pie crust in 9" pie dish (I found that there is no need to prebake the crust)
  3. Combine sugar and butter in a bowl, whisking to combine
  4. Add in cocoa powder, whisking to combine
  5. Add in remaining ingredients, whisking to combine
  6. (optional) Put a 1/2" thick layer of peanut butter on the bottom of crust
  7. Pour custard into pie crust
  8. Bake for 45 minutes, until center is set
  9. Cool completely, 6 hrs or overnight in fridge

Wednesday, 6 March 2013

Chocolate Peppermint M&M Bars (Easy Things to Do with Cake Mix #4)


Better late than never! This is a Christmas recipe, three months late. Which means, in fact, that I am getting worse, because my Thanksgiving recipes were only two months late. Oh well.

Incidentally, I think I'm going to change the tagline of my blog to: "Good food...crappy pictures." Seriously. I have no sense of artistry. I snap my pics on my iPhone, in my garish kitchen light, on a messy counter, on a paper plate. If there are Seven Deadly Sins of Food Photography, I commit them all. Simultaneously.

But, don't let my lack of artistic flair deter you from making these bars, because they are super quick and yummy. And like Thanksgiving, with my new kiddo, quick and easy was the name of the game this year.


I didn't intend to make these bars. In fact, I was at a loss for what to make this year for Christmas. Normally, my mom and I make scads and scads of Christmas cookies, but this year, I knew it wouldn't happen. Frankly, I was an overwhelmed FTM, and I was lucky to make it to the shower every day, let alone coordinate the 15+ varieties (no exaggeration) of cookies and cake balls this year.

But then I saw these babies at Target:


White chocolate peppermint M&Ms. Apparently they were a Target exclusive. So I snatched up a bag for baking without a clear idea of what I wanted to do with them. But then I decided to make bars -- they're easier than cookies because it involves one pan and one trip to the oven. And for these bars, I wanted to try something a little different, so I used Devil's Food cake mix as the base. Super easy!

Just combine cake mix, oil, an egg and water in a bowl and mix to combine (by hand is fine, I used a wooden spoon).


Then, add the mix-in, which in this case was the entire bag of M&Ms:

Note: the oil makes the batter, well, oily. The M&Ms get coated with oil and almost fall out of the batter as you mix. Don't worry, it will bake up just fine.
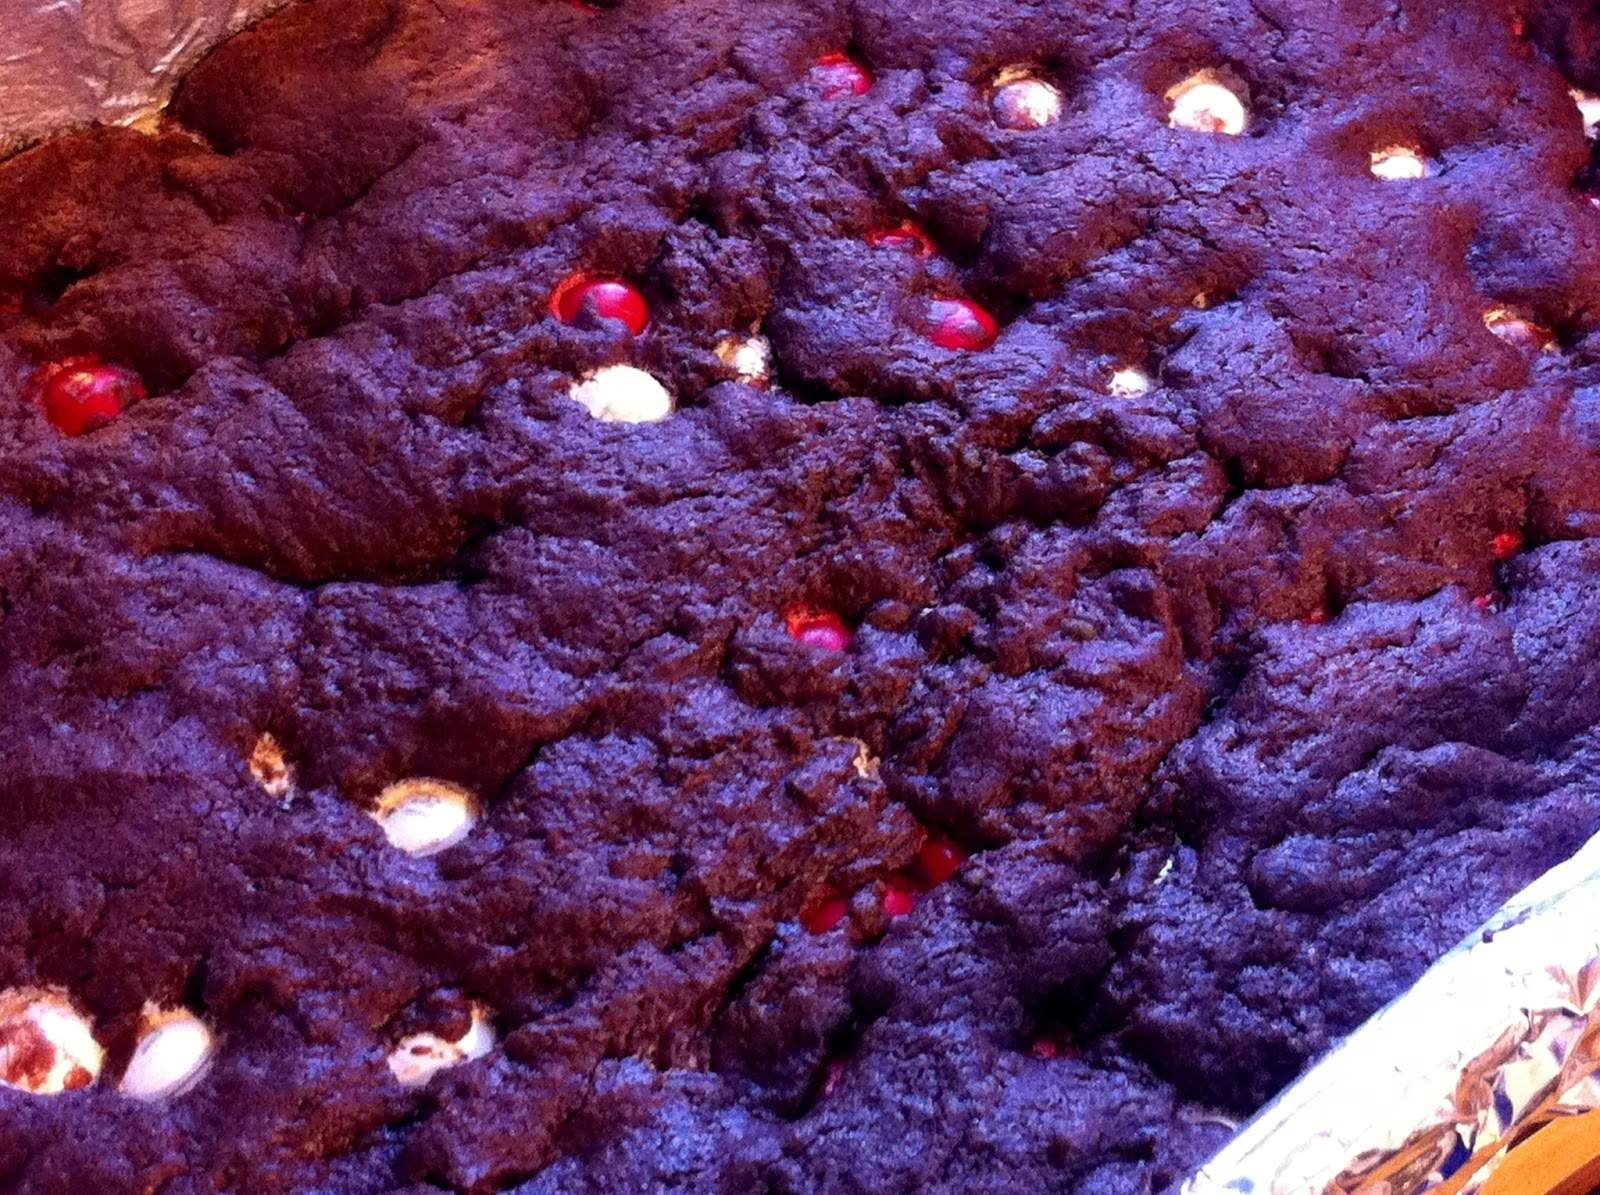
Then, spread it in a pan, bake, cool, and cut!


I managed to have the entire thing done before my little helper woke up!

Color-coordinated with Mommy's baking!
My family loved these things, they were quite tasty, and the bar consistency was perfect. Huge return on taste for a minimal time investment -- just the way I like it! The beauty is, you can use the basic cake mix recipe for any combo of batter and mix-ins! Next year, I think I will try white cake mix with these M&Ms, which should look stunning, visually. I'm also going to try a flavor variation for Easter which, based on my current posting schedule, probably won't make it onto the blog until Halloween. Oh well. Happy baking!

Chocolate Peppermint M&M Bars

Ingredients

  • 1 box chocolate cake mix (Devil's Food, Chocolate Fudge, etc)
  • 1/2 cup vegetable oil
  • 1/4 cup water
  • 1 egg
  • 1 bag of white chocolate peppermint M&Ms (or mix-on of your choice)
Directions
  1. Preheat oven to 350F
  2. Spray  9x13" pan with cooking spray (optional: line pan with aluminum foil before spraying, for easy lifting of bars from pan)
  3. Combine cake mix, egg, oil and water in bowl and mix well
  4. Add mix-ins
  5. Spread evenly in pan (you may have to press down a little to spread evenly) and bake for 20-25 minutes
  6. Cool and cut


Monday, 20 August 2012

Banana Bread


I have always been on the lookout for a definitive banana bread recipe, and I've finally found it in the form of my friend Lauren's MIL's recipe (which I have since learned is the banana bread recipe from the 1970 Betty Crocker's Cookbook (the red one with the wheel of food on the cover). It's not what I normally think of when I think of banana bread -- that is to say a slightly spicy bread filled with nuts. In contrast, it is pale, white, devoid of spice (although you can certainly add spice in), and also devoid of mix-ins (which again, you can always add back in). It also has, to my thinking, a lot of baking powder in it, and I was expecting there to be an aftertaste. But I tried the recipe because I trust my friend Lauren's opinion since she too is an avid baker. And to my great surprise, I preferred this recipe of plain banana bread to any other that I've tried yet, and I think you will too. It is fluffy and pure, with a banana taste that hits you right in the face.

I've made this bread plain, with chocolate chips, and with cinnamon and pecans, and that is the order of my preference -- plain, chocolate chip, and then nuts/spice. I'd highly recommend making it plain the first time you try it, and then you can always change it up later if your tastebuds want something extra.


But first, because I've missed writing them, a brief banana interlude. Skip down to ignore my rambling and get right to the recipe!

Bananas are native to Southeast Asia, and have been cultivated for at least the last 5000 years, if not longer! They didn't start becoming popular in the United States until after the Civil War, and it wasn't until 1933 that the first recipe for banana bread appeared in an American cookbook (Balanced Recipes by Pillsbury). Coincidentally, the appearance of this first banana quickbread recipe coincides with a marked rise in the use of the chemical leavening agents baking powder and baking soda in America in the 1930's (get it -- "rise"? I crack myself up).

Little known fact: bananas are actually slightly radioactive due to their high potassium content. They contain small amounts of the isotope potassium-40, which has a half-life of 1.25 billion years! One banana does not have an appreciable amount of radiation, a trace amount when eaten that has been termed the Banana Equivalent Dose, or BED. But, a whole truckload of bananas actually has enough radiation to trigger false alarms by the Radiation Portal Monitors (RPMs) that screen goods coming into US land and sea ports (http://www.nti.org/analysis/articles/radiological-nuclear-detection-devices/)!

Today, virtually all sweet bananas sold (as opposed to plantains) are of the Cavendish variety, but currently that variety is under threat of being damaged by a brand-new strain (Tropical Race 4; TR4) of a soil fungal infection called Panama Disease. A different strain of Panama Disease, Race 1, all but destroyed the previous large-scale banana cultivar, Gros Michel, in the 1950's. Blights on banana crops have such stunningly devastating effects because cultivated bananas are in fact sterile -- they produce no seeds. They are not crossed and bred like other crops to maintain genetic diversity, with the result that all Cavendish bananas are essentially clones with identical genetic material -- which means they are all equally susceptible to TR4.  It is estimated that in anywhere from 5-20 years, TR4 will reach South America and permanently cripple the Cavendish banana supply. Worse, unlike the situation in the 50's where Cavendish stepped up after the demise of Gros Michel, there is currently no viable Cavendish replacement for large-scale banana cultivation. Other variants that exist are so far away from what you and I would consider the "typical banana" that most people would consider these alternate variants to not even be bananas!

Back to the baking!

I apologize for the pictures, when I gathered up the photos I had in hand, I realized that some of them are from the time I tried the recipe plain, some are from when I added chocolate chips, while others are from the time I tried adding nuts. So the pics are sort of all over the place, if you are wondering why one pic might have chips while the next pic is of plain bread…

This recipe is so easy, I almost can't stand it. First, mash up the bananas, the riper they are, the better (a fork works great for this).

Then, combine the bananas with all the other ingredients, and mix until moistened (about 30 seconds in a stand mixer).

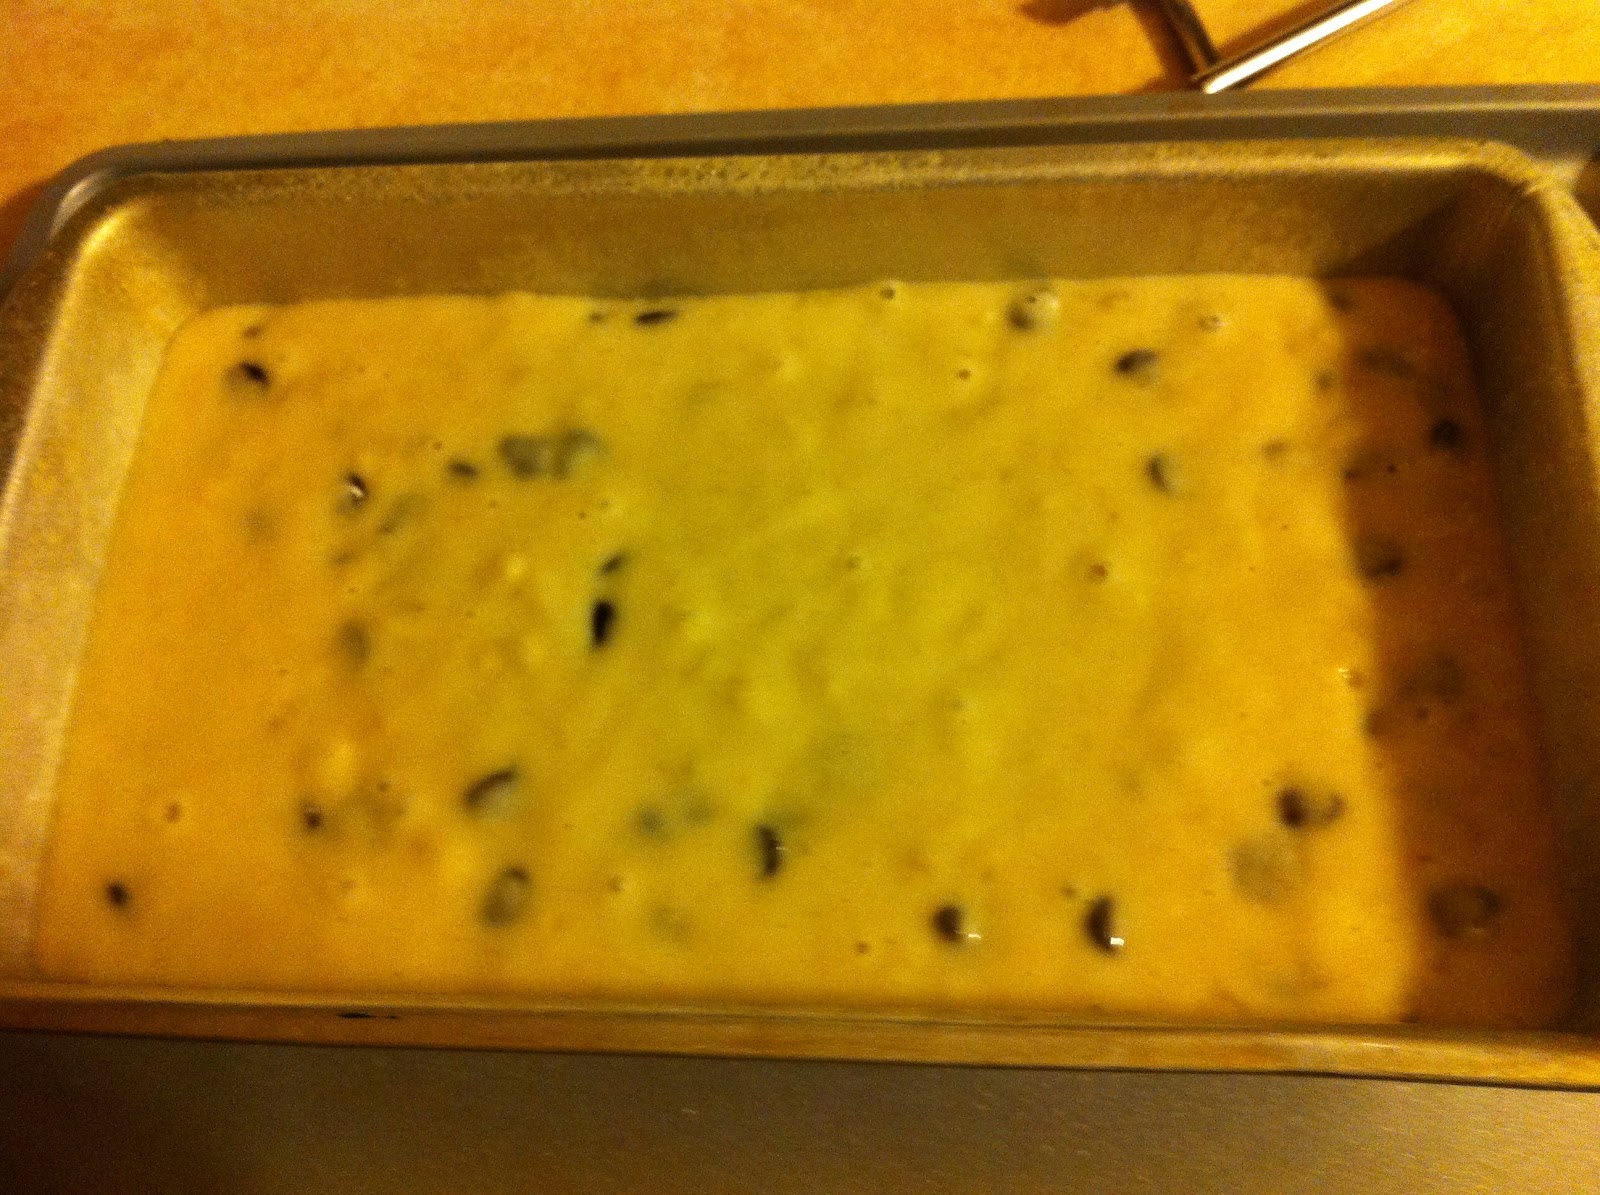
Pour into a 9x5" loaf pan (I used the Pam baking spray with flour in it to coat the pan first, or you can do the traditional grease and flour), and bake at 350F for 55-65 minutes until the top of the bread is golden, and a tester is clean.


I can't say enough good things about this bread. It is simple, easy, and tastes fantastic even without anything in it -- in fact I prefer it plain, which is unusual for me! But you can easily use this recipe as a base and customize it with nuts and spices, or chocolate chips; I've tried both of those variations as well and they are both yummy!


Banana Bread
 Ingredients 
  • 2 1/4 cups flour
  • 1 cup sugar
  • 3 1/2 teaspoons baking powder
  • 1 teaspoon salt
  • 3 Tablespoons vegetable or canola oil
  • 3/4 cup milk
  • 1 cup mashed very ripe banana (2-3 bananas)
  • 1 egg
  • optional mix-ins: 1C of nuts or chocolate chips
  • optional spice: 1 tsp cinnamon


Directions
  1.  Preheat the oven to 350 degrees.
  2. Grease and flour your loaf pan.
  3. Beat the mixture for 30 seconds on medium speed (the great part of the recipe is that you don't have to cream anything or do any step-wise additions; just dump all the ingredients into the bowl and mix).
  4. Pour into a 9-5" loaf pan.
  5. Bake 55-65 minutes until tester comes out clean

Tuesday, 15 March 2011

Chocolate Bourbon Pecan Pie Bars


This is my second recent posting on pecan bars, and it is a recipe I have been wanting to try forever: a shortbread-based pecan pie bar. My previous pecan bars from a cake mix, while tasty, were not quite what I had in mind, so I decided to start from scratch, and make my own recipe. And this time, I decided to do something I had never done with pecans before: add some bourbon.

Now, bourbon has a long history of being paired with pecans in pecan pie, although how long, no one knows for sure. For certain, it is a Southern tradition. Bourbon, the drink, is named after Old Bourbon (present day Bourbon County) in Kentucky, the place associated with its invention. To this day, 95% of the world's bourbon comes from Kentucky, and the export of bourbon to the rest of the world is a billion dollar industry.

This recipe starts with the creation of a shortbread crust. I did this all in my food processor today, but I've made this dough before (for thumbprint cookies) in my mixer. Both work fine, so don't worry if you don't have a food processor. I have included directions for making with a mixer in the printable recipe at the bottom of the post.


Whisk together egg yolks and vanilla, and set aside.

Combine the flour and the sugar in your processor, and pulse a few times to combine.

Cut up your cold butter.

Ad it a few pieces at a time, with the machine running, until it looks crumbly, this won't take long.

Then, pour in the egg/vanilla mixture, and process until blended and the dough starts to pull away from the sides.

Take this dough, and pat it into a sprayed 9"x13" pan evenly, but make a tiny lip around the edges to try and contain the filling you will eventually be pouring in there.

This gets baked in a 350F oven for about 20 minutes, until it is lightly golden.

Meanwhile, make the filling. Combine white and brown sugar, light and dark corn syrup (you can use all light corn syrup if you want to lessen the sweetness, this filling is pecan pie-sweet), melted butter, beaten eggs, vanilla and bourbon until well mixed.

Then, stir in pecans and chocolate chips.

When the shortbread base comes out of the oven, and pour the filling on top.

Pop it back into the oven for another 25-30 minutes, until set.

Let it cool completely before slicing.

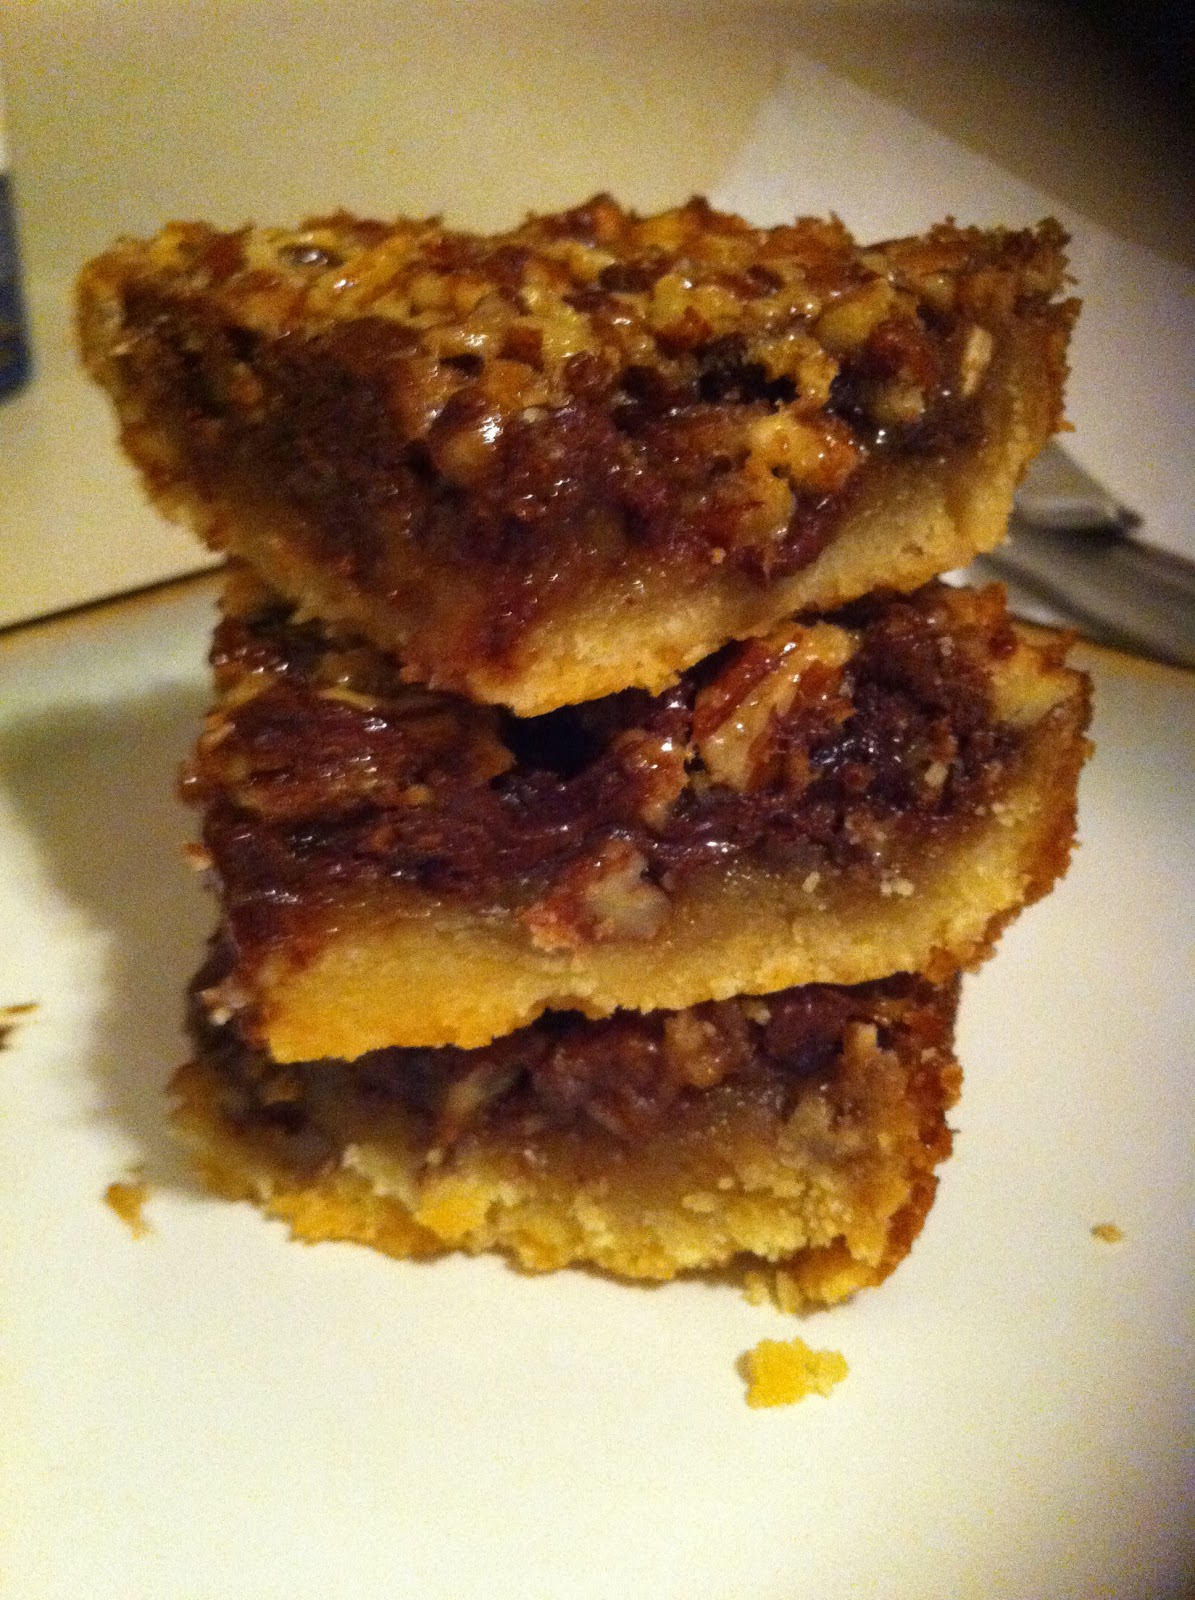
These bars are great when they are cooled, even better the next day. The shortbread crust is buttery and firm, and pairs deliciously with the sweet filling. These bars are pretty easy, create no mess while baking (unlike some recipes I've seen that actually tell you flat out in the recipe that the bars will overflow the pan and land on your oven while baking), and are a decadent treat. They are a great take-along item too -- a lot of people don't like to fuss with cutting a pie, but no one objects to grabbing a bar.

Don't be afraid to leave out the bourbon, or adjust the amount up or down according to your personal preference. The first time I made these, I actually used about 4 tbls of bourbon in the filling, because I couldn't get enough. I loved them this way, but there were people who thought they were way too strong. Since then, I've dialed down the amount significantly. For me, because I love the bourbon flavor, 2 tbls is just right, but bourbon can overwhelm the flavors, so I would start with 1 tbls the first time you make them if you're unfamiliar with bourbon, and see if you like how they taste.  You an always add more the next time you make them if you approve of the bourbon flavor. It is a distinctive flavor, it is definitely not for everyone. These bars will be delicious even without a single drop of bourbon, so don't hesitate to leave it out if you think the bourbon taste is not for you.

Chocolate Bourbon Pecan Pie Bars
(Printable Recipe)

Ingredients


For the Shortbread
  • 1 C cold sweet butter, cut into pieces
  • 2/3 C granulated sugar
  • 2 1/4 C AP flour
  • 2 egg yolks
  • 1 tsp vanilla

For the Filling
  • 3 eggs, beaten
  • 1/2 cup corn syrup (1/4 light, 1/4 dark)
  • 1 cup sugar (1/2 white, 1/2 brown)
  • 2 tablespoons butter, melted
  • 2 teaspoon vanilla extract
  • 1 tbls bourbon (optional, see note in the text)
  • 2 C pecans
  •  1 C semi-sweet chocolate chips

Directions

For the Shortbread
  1. In a small bowl, whisk the egg yolks and vanilla together, set aside.
  2. Combine the flour and granulated sugar in a mixer with the paddle attachment or in a food processor/mixer and process just to blend. 
    • For Mixer: Sprinkle the butter onto the flour/sugar mixture and mix on medium until the mixture looks crumbly, this won't take long. Add in the egg mixture and mix until the dough pulls away from the side of the bowl. 
    • For Processor: With the machine running, add the butter 2-3 pieces at a time and process until the mixture looks crumbly. With the machine still running, add the egg yolk mixture and process until blended and the dough begins to pull away from the sides of the bowl.
  3. Pat dough down in a 9"x13" sprayed pan, making a slight lip around the edges
  4. Bake in a 350F oven for 20-25 minutes, until golden (see Step 3 below)
For the Filling and Bars
  1. In a bowl, combine the sugars, corn syrups, melted butter, vanilla, beaten eggs, and bourbon, and mix well to combine
  2. Stir in the pecans and chocolate chips, coating well
  3. Pour the filling over the shortbread crust when the shortbread crust comes out of the oven
  4. Bake bars at 350F for 20-30 minutes (my oven took about 23), until filling sets
  5. Cool completely
  6. Slice and serve
  7. Even better the next day!


Sunday, 20 February 2011

Pecan Chocolate Cake Bars (Easy things to do with cake mix #1)

This post is short and sweet. After Christmas, I was left with an excess of certain baking ingredients that I intended to use over the holiday but never did. Things like 4 boxes of yellow cake mix, 2 boxes of pumpkin bread mix, 1 box of red velvet cake mix, 2 bags of bright red candy wafers, 2 huge jars of marshmallow fluff, a box of graham cracker crumbs, bags of chopped pecans, gads and gads of bittersweet chocolate chips, and 3 cans of pumpkin. Now, my apartment is the size of a shoebox, which makes my closet about the size of a postage stamp. I just can't possibly horde baking ingredients forever. Well, actually...I probably could, but according to my horrified husband, I just can't possibly horde baking ingredients forever. So I need to use up my supplies, pronto.

Red velvet cake mix and red wafers are already gone, as Valentine's Day cupcakes with red molded chocolate decorations on top. I made the pumpkin bread last week, and sprinkled on some pecans. One box of yellow cake mix had a hole in the plastic holding the mix, so when I went to open up the box, it poofed all over my clothes. Said box is now in the trash, potential morph into baked goodness unfulfilled. So sad.

But this is the story of Yellow Cake Mix #2.

Yellow Cake Mix #2 has become Easy Things to do With Cake Mix #1. Still with me? Good. This yellow cake mix was destined for great things, although not the thing I thought it was destined for. I thought it was destined to become a yummy pecan pie bar, like a shortbread bar with a buttery crust.  But instead, it turned out to be more of a yummy pecan cake, and I'm advertising it as such.


My usual historical interludes have been more sporadic of late, and this post will have to fall in the interlude-less category, because I've already covered the topic of pecans quite extensively.

Take out that cake mix and reserve 2/3 C. To the remainder of the mix, add 1 stick of melted butter and one egg, mixing well to combine (I did this by hand, btw).

Take this dough, and pat it into the bottom of a sprayed 9"x13" pan, and partially bake it.

Meanwhile, combine eggs, vanilla, corn syrup, brown sugar, and the reserved cake mix in a bowl.

When the partially baked dough comes out, it should be slightly golden.

Sprinkle pecans and chocolate chips onto the base, then pour over the lovely filling.

It'll bake up nice and yummy.

And there you have a minimal-effort pecan cake with chocolate.

It easily cuts into squares, so I guess it could be called a "bar" -- it looks like one. But this has a softer texture, and I always think of bars as firm and dense...so I consider this a cake bar, if that makes sense.

Whatever it is, it's good!!

The original recipe can be found here, although I tweaked my version slightly.

Pecan Chocolate Cake Bars


Ingredients
  • 1 (18.25 ounce) package yellow cake mix
  • 1/2 cup butter, softened
  • 1 egg
For the filling
  • 3 eggs
  • 1 teaspoon vanilla extract
  • 1  cups dark corn syrup
  • 1/2 cup packed brown sugar
  • 1 cup chopped pecans add chocolate chips!!!
  • 2/3 cup yellow cake mix

Directions
  1. Preheat oven to 350 degrees F (175 degrees C). Grease a 9x13 inch pan.
  2. Reserve 2/3 cup cake mix.
  3. Mix together remaining cake mix, margarine, and 1 egg. Pat in prepared pan.
  4. Bake at 350 degrees F (175 degrees C) for 15-20 minutes or until golden brown.
  5. Beat together 3 eggs, vanilla, reserved 2/3 cup cake mix, corn syrup, and brown sugar. Pour on cake in pan. Sprinkle pecans on top.
  6. Bake at 350 degrees F (175 degrees C) for 30-35 minutes.